|
Kustom Mods Page: #1 | #2 | #3 | #4
Name: Courtesy of Modstation
Platform:
Sega systems
Model: N/A
Mod Chip: No
Pic: segaclone1.jpg
| segaclone2.jpg | segaclone3.jpg
| segaclone4.jpg | segaclone5.jpg
| segaclone6.jpg | segaclone7.jpg
| segaclone8.jpg | segaclone9.jpg
Description:
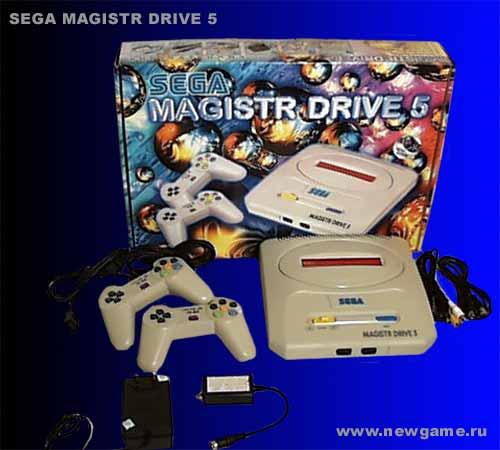
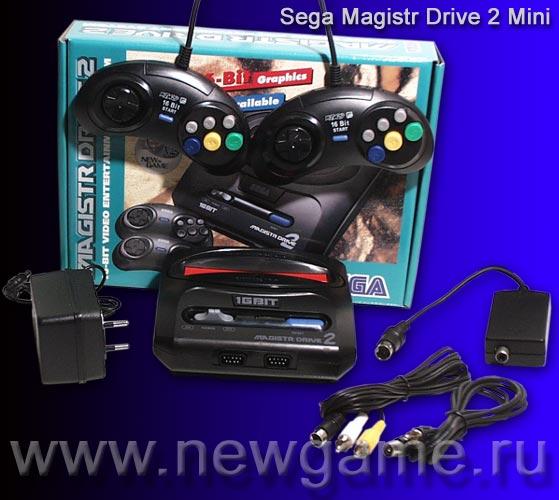
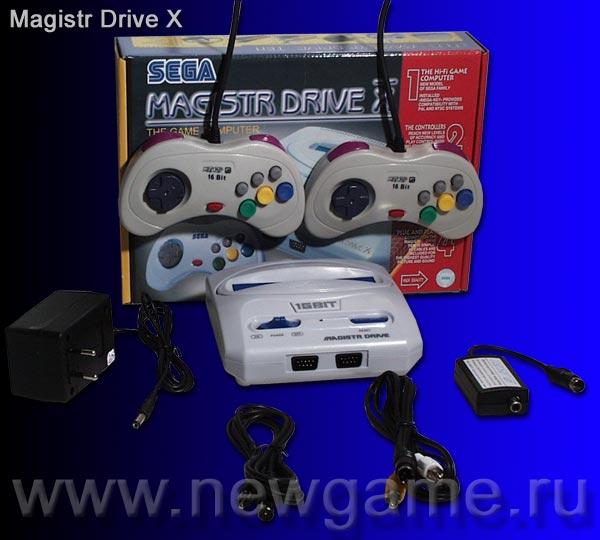
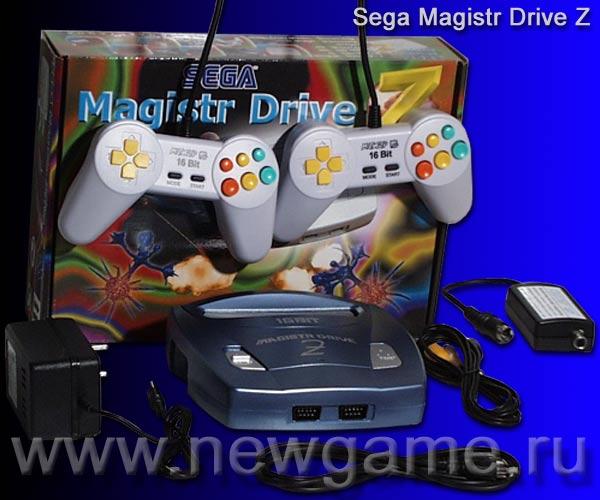
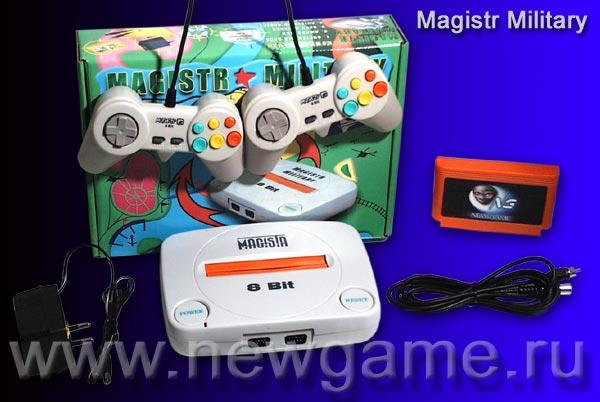
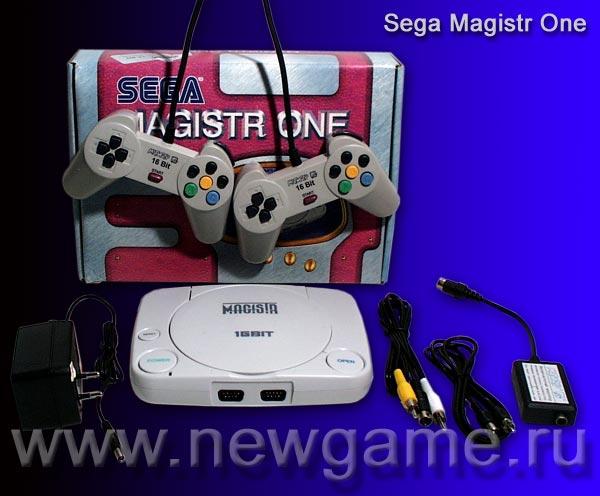
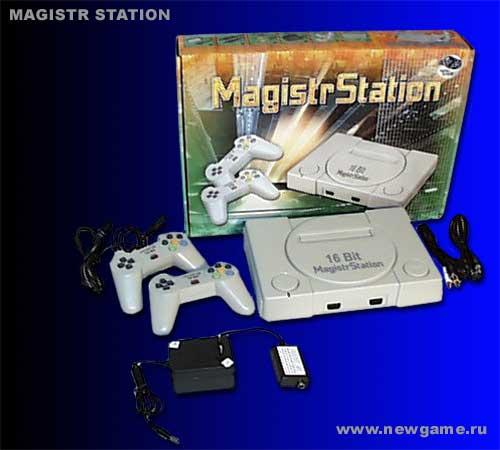
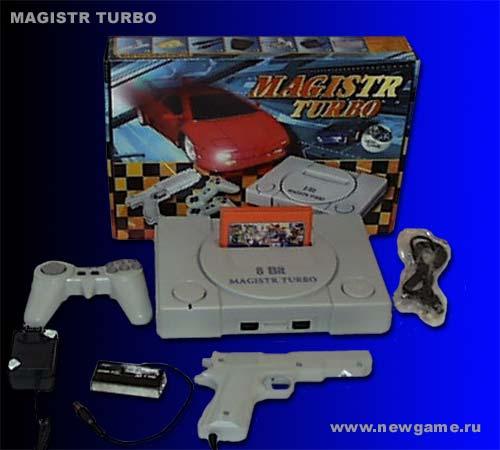
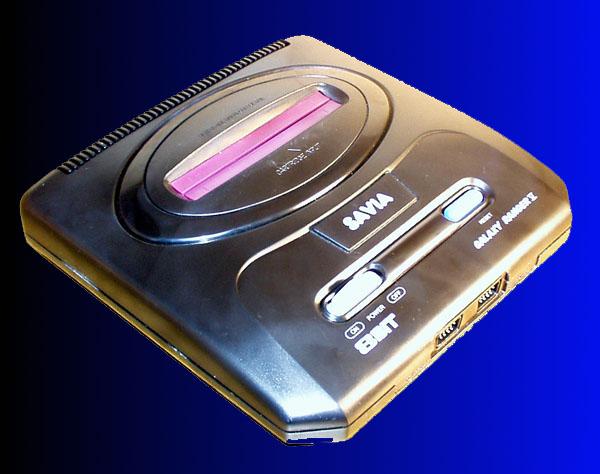
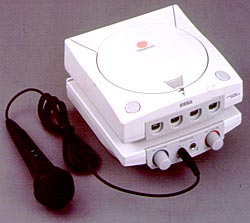
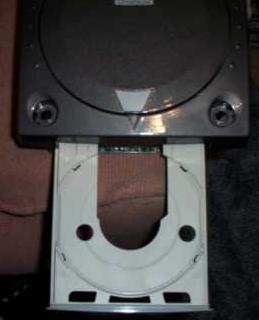
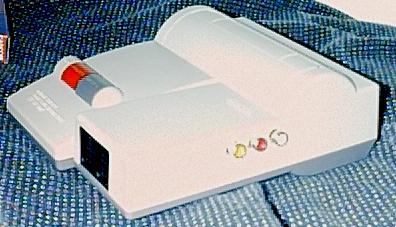
Multiple versions of Sega 8-bit and 16-bit systems. These are actual systems sold in Japan. Sega put out many different models
of their Sega's. For some reason a couple look like PlayStations. Hmm?
Directions: N/A
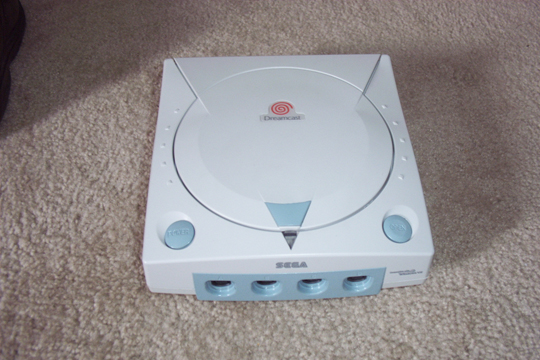
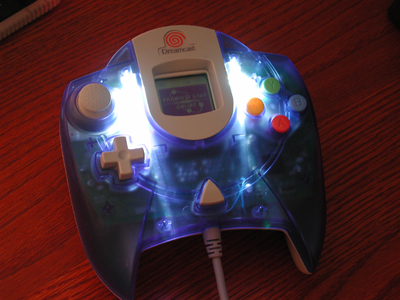
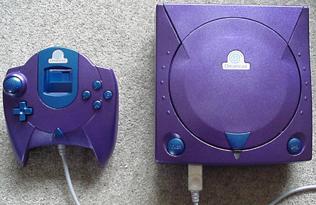
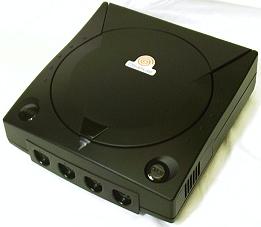
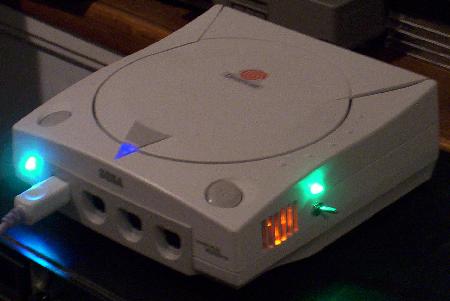
Name: Mark Bassett
Platform: Dreamcast
Model:
HKT-3020
Mod Chip: No
Pic: soon!
Description: A painted black dreamcast
with with a green LED instead
of a orange one - the picture is of the progress
so far.
Directions: N/A
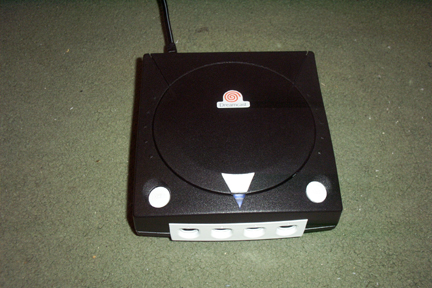
Name: ?
Platform: Many
Model:
Mod Chip: No
Pic: hippy_dc1.jpg
| hippy_dc2.jpg | hippy_gc.jpg
| hippy_n64.jpg | hippy_psx1.jpg
| hippy_sega.jpg
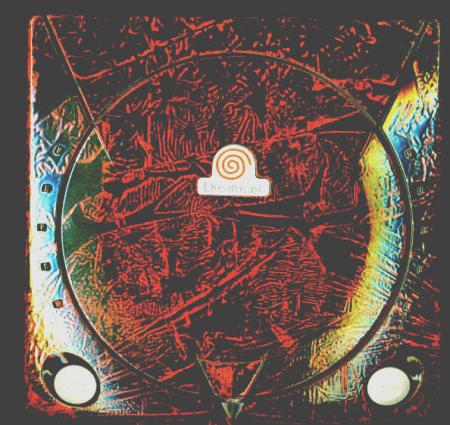
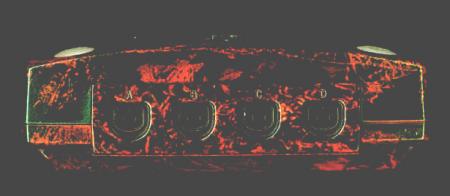
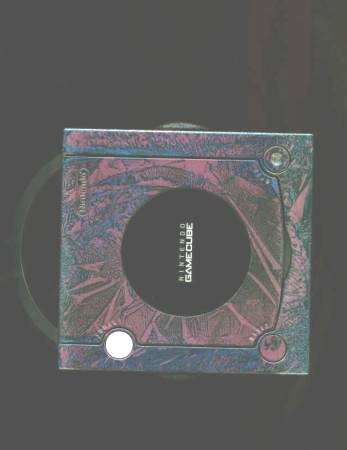
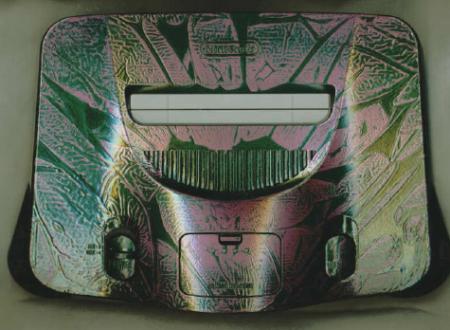
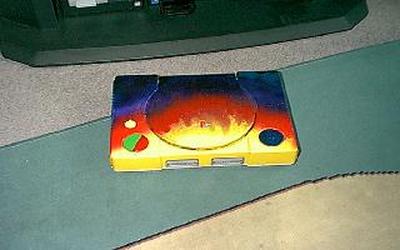
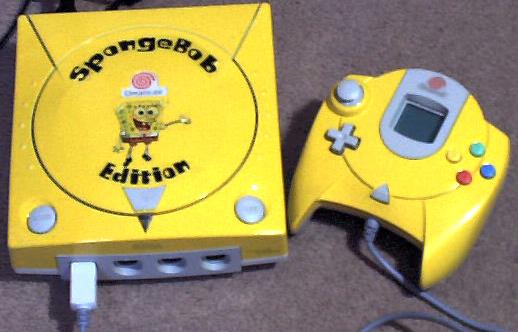
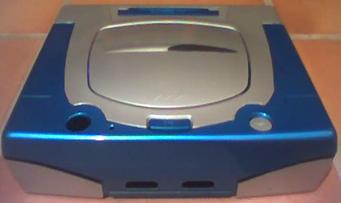
Description: Many
different systems with cool paint jobs! These systems look really cool, and hard
to make.
Directions: N/A
Name: Vince Welford
Platform: N/A
Model:
N/A
Mod chip installed: Probably not
Pic: dc_project1.jpg
| dc_project2.jpg
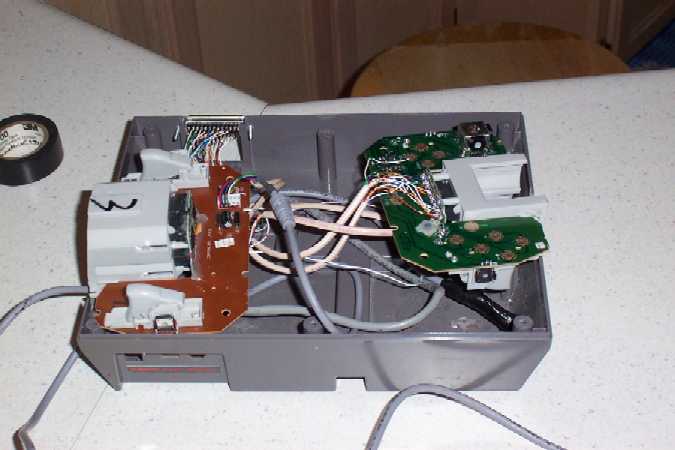
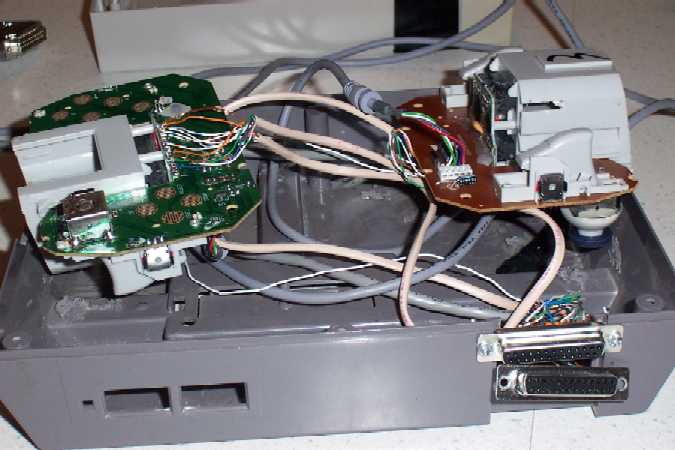
Description: Basically, its just two Dreamcast
controllers that are ported to connectors.
I just built a chart that allows me to port any controller I want to the Dreamcast. I left a hole on each side so I can still
place vmus on the controllers. Im also going to add a keyboard adapter and a vcd remote sensor
with cut off switches so I will only have two wires to connect to the dreamcast. Also Im going to have a reset button for
when Im playing certain homebrew software. I also have more plans for the box. Thats why I used the nes box so I would have
plenty of room for anything extra I could think of later.
Directions: N/A
Name: ???
Platform: Gamecube
Model:
N/A
Mod chip installed: No
Pic: Soon!
Description: Only a simple replacement
of Gamecube's logo on top of the
console.
Directions: I only made a plastic
circle with the same dimensions of the
original one. I printed an alternative
logo and I glued it onto the plastic
circle I made before. After, I applied a
transparent adhesive plastic over the logo.
Name: David Maher
Platform: Dreamcast
Model:
HKT-7000
Pic: vmumod_pic1 | vmumod_pic2
| vmumod_pic3 | vmumod_pic4
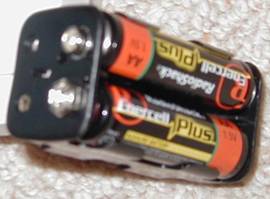
Description: VMU with 4 AA batteries connected for power.
Directions:
What you will need...
Pack that holds 4 AA batteries. Pic 1
9 volt connector,
pic 2.
Phillips screwdriver,
Razor blade (optional)...
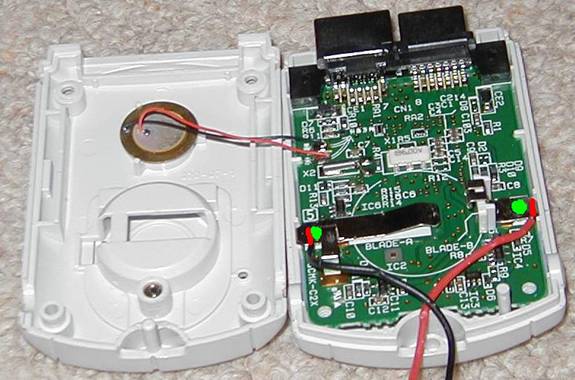
Unscrew the
4 screws on the bottom of the VMU. Connect the positive connection of 9 volt connector
under the clip on the right, and the negitive connection on the clip on the left.
See pic 3. Place the wires where they come out the bottom of the VMU when closed
up. Use the razor to chip out plastic so the wires can rest easier, without being
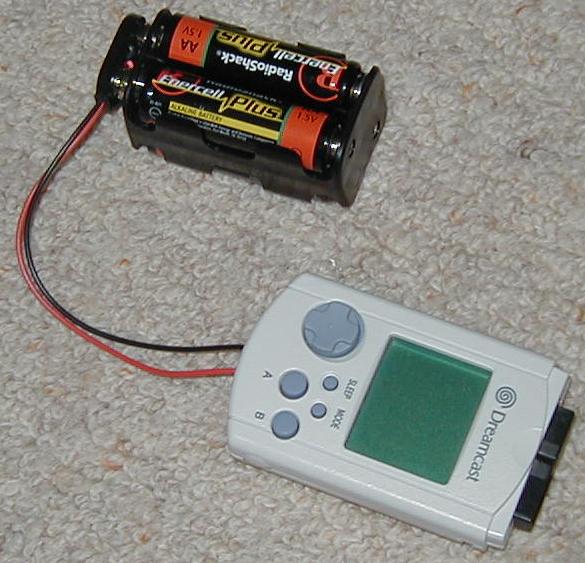
clamped tight and making the VMU bend. Close it up by replacing the 4 screws, and
connect the 9 volt adapter on the power pack with 4 AA's. Pic 4 shows completed product.
Your VMU should never need batteries ever again, unless you use it for mini-games,
a lot! Batteries on the verge of death should work fine for a long time. But brand
new batteries will work forever, literally! Do get a more in depth installation guide,
visit http://homebrew.dcemulation.com/TheGatesofBill/vmuaa.html
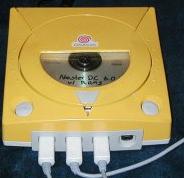
Name: Daniel J. Allen
Platform: PlayStation®
Model: SCPH-7002
Mod
chip installed: Yes
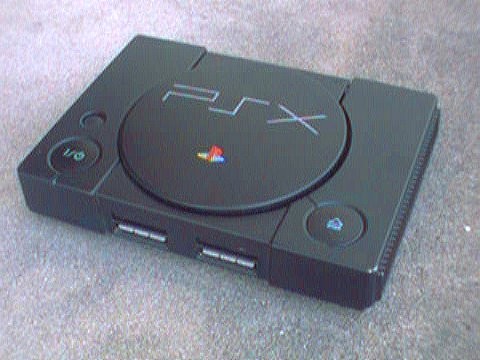
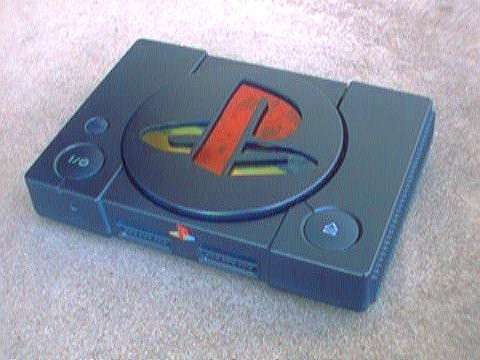
Pic: psxblack_mod.JPG
Description: System
painted black with PlayStation
2 type lettering, (blue faded to purple), and full color PSone logo. Two switches
in back. One to control Pal to NTSC output, and other to make PS system think door
is closed, when door is open. No need for spring.
Directions: The console was completely stripped off all parts &
screws. The top & bottom pieces of the case were cleaned in hot water then after they dried I used some rubbing alcohol to
completely clean off any oils that had come of your skin when handling it, Otherwise the paint wont stick properly.
The power & eject buttons were cleaned then taped up with ordinary sticky tape so I could still see the two logos. Then I
used a razor blade to carefully cut out the logos & peel the rest of the tape off so that the logos were the only things covered
by tape.
Once sprayed the tape could be gently peeled off revealing the original logos underneath.
You will also need to either remove or tape up the clear plastic that is used for the power light. Also you will need to tape
up the label underneath your playstation or if you havent already, you can spray over it & then remove the thin film that
is already covering it.
The lid was given a quick spay with a purple & a blue I a faded look (like the PS2 logo). Once completely dry the lid was
taped up in the same way the buttons were then the PSX letters were cut out with a razor blade. I carefully drew them onto
the tape first as a guide.
Once cut out you can then peel the rest of the tape off so that the logo is the only thing covered by tape. I then sprayed
the casing with 3 coats of black. Once dry I was then able to gently peel off the sticky tape covering the PSX lettering &
the button logos. (use the razor blade to gently lift up the edges of the tape).
Name: Daniel J. Allen
Platform: PlayStation®
Model: N/A
Mod chip installed: Stealth
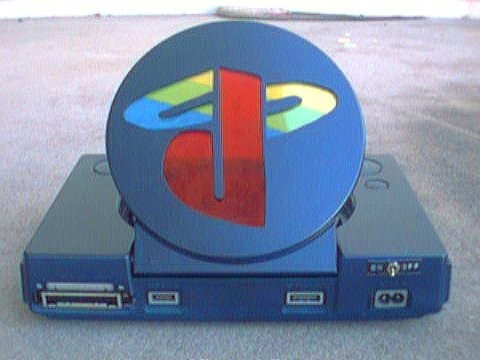
Pic: psxbiglogo_mod.JPG | psxbiglogo_mod2.JPG
Description:
Clear blue PS system with large psx logo on top, and small PS logo by memory card ports. Switch in back to control open/closed
door. Stealth chip installed with LED to flicker when being used. Like hardrive lights on a computer.
Directions as
givin to me by the maker: The console was completely stripped off all parts & screws. The top & bottom pieces of the case
were cleaned in hot water then after they dried I used some rubbing alcohol to completely clean off any oils that had come
of your skin when handling it, Otherwise the paint wont stick properly.
The lid logo was drawn on by hand then cut out using a small coping saw & a fine chainsaw file. Once logo was cut out & all
edges were smoothed off, the lid was cleaned the same as the rest of the case & left to dry.
The power & eject buttons were cleaned then taped up with ordinary sticky tape so I could still see the two logos. Then I
used a razor blade to carefully cut out the logos & peel the rest of the tape off so that the logos were the only things covered
by tape.
Once sprayed the tape could be gently peeled off revealing the original logos underneath.
You will also need to either remove or tape up the clear plastic that is used for the power light. Also you will need to tape
up the label underneath your playstation or if you havent already, you can spray over it & then remove the thin film that
is already covering it.
I sprayed mine with 3 coats of metallic "Cape Blue" (Hyundai color), & 2 coats of clear.
The colored logo is done with my printer. I printed the colors onto a gloss clear film that is suitable to print onto (the
same type used for overhead projectors).
Later I will be putting some lights in the CD area so that it will make the logo glow.
The Playstation logo sticker that was removed from the lid was then placed between the two memory card ports at the front.
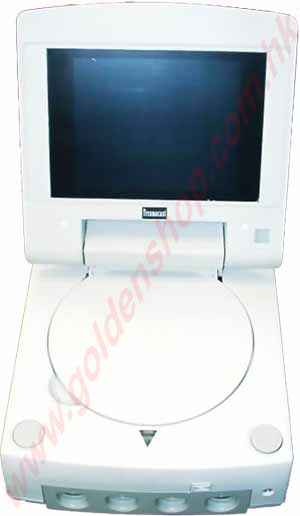
Name:???
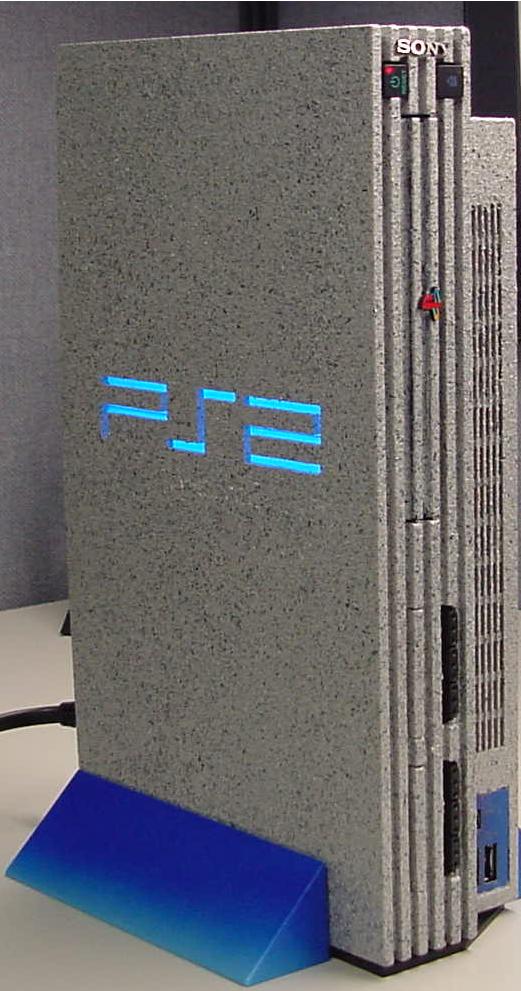
Platform: PlayStation®2
Model: N/A
Mod Chip: N/A
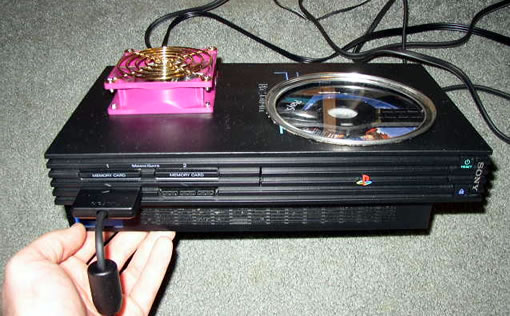
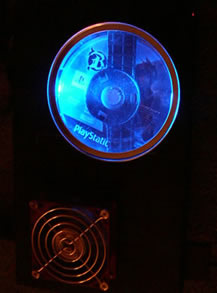
Pic:
Pic1 | Pic2
Description:
Pink fan above power
supply to ensure good cooling. Window with chrome trim around to show CD spinning,
with blue neon light. Pic 2 shows top with neon light on.
Directions: N/A
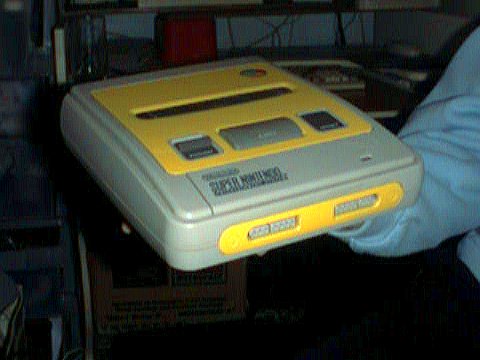
Name: Daniel J. Allen
Platform: Super Nintendo
Model: ?
Pic: snes_yellow.jpg
Description: Super Nintendo system with top panel and controller ports panel
painted yellow.
Directions: The top panel on the SNES is held down with 4 clips, which I had to use a flat screwdriver
to pry them away from the rest of the console so the top panel would come free. Once off I gently removed the Super Nintendo
logo from the top right hand corner & placed it on some grease proof cooking paper so after I had finished it could be easily
peeled off with its sticky adhesive still fully intact.
Next the panel was cleaned in hot water then after it dried I used some rubbing alcohol to completely clean off any oils that
had come of your skin when handling it, Otherwise the paint wont stick properly.
The Front panel around the controller ports cannot be removed so it was taped up so there was no over spray getting on the
rest of the console. (Make sure you cover the ports. Paint inside the ports will stop the plugs from your controllers making
contact properly.
Once fully prepared the two panels were given 3 coats of the yellow & two coats of clear to give it a nice glossy shine. Once
fully dry I used a small amount of car polish to give it a nice finish, (seeing as though it was car paint.)
The top panel was easily replaced by pressing it firmly back onto the console making sure the 4 clips were all lined up. Then
the Super Nintendo logo was the replaced into the top right corner. N/A
Front Page WondersAll mods that were on the front page, but w/o their own post. Also showcases all the mods
that have been in the Spotlight Mod at the top of this page.
Dreamcast Debugger: Game creators used this to test for bugs in DC game...dreamcast_debugger.JPGAwsome
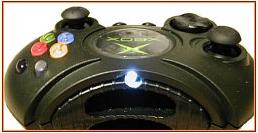
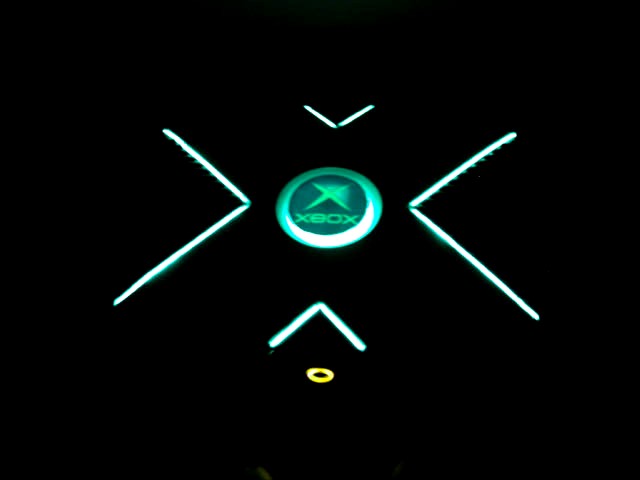
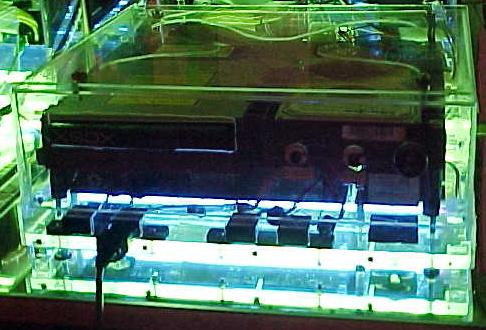
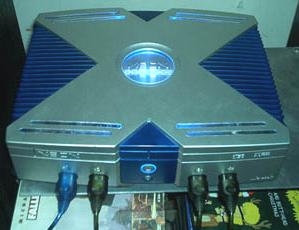
X Box mod: xbox_console_mod.jpg | xbox_console_light.jpg
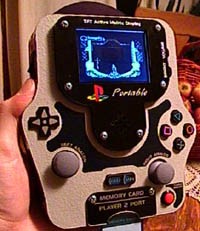
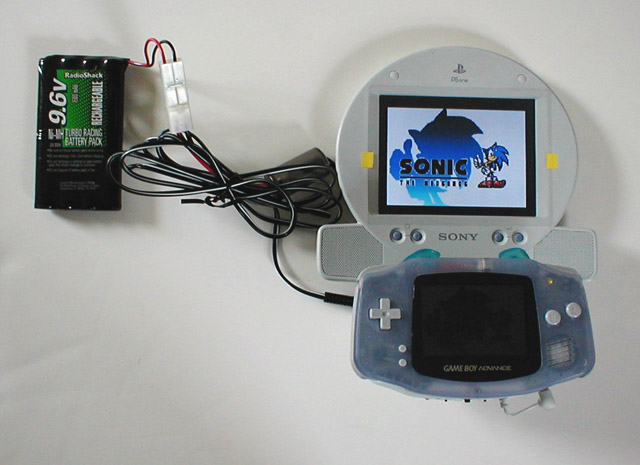
The
portable PlayStation: portable_ps.JPG
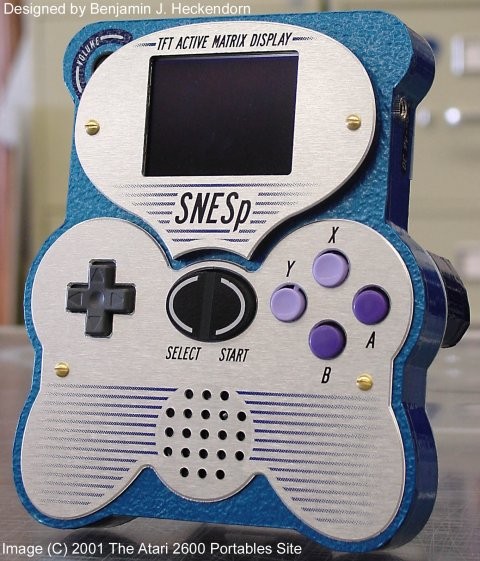
The portable Super Nintendo:
portable_snes.JPG
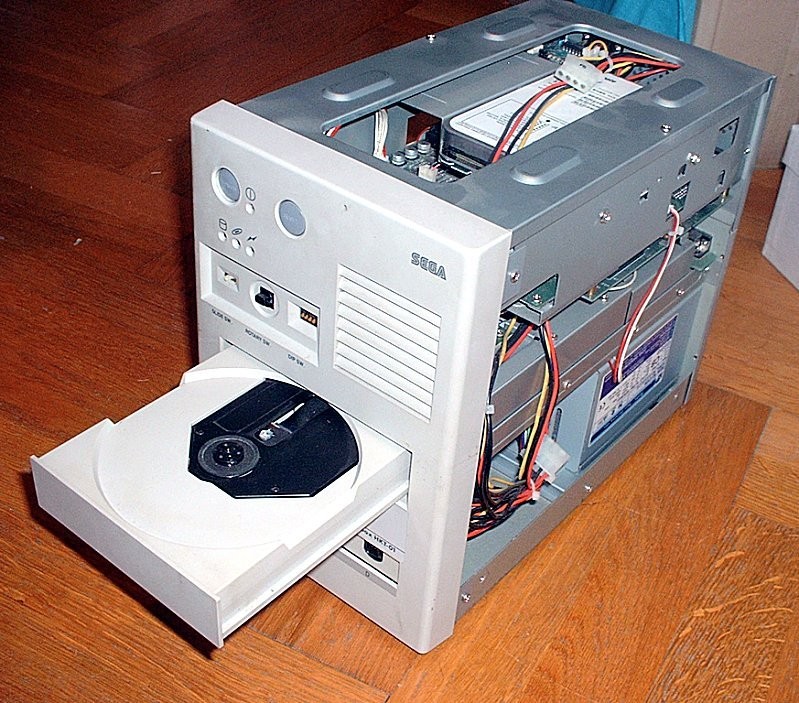
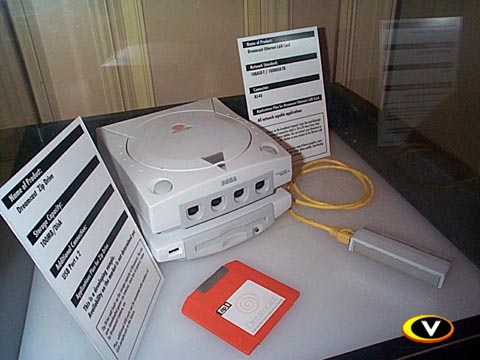
Dreamcast Zip Drive Prototype: dczipdrive_proto.jpg
Platinum PlayStation2: psx2platinum.jpg
|

