The LED:
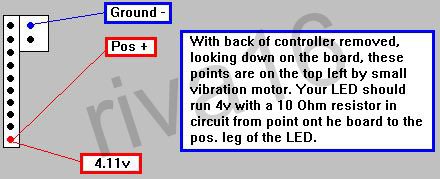
Take your LED and solder the 10 Ohm resistor to the positive leg, and then solder wire off the resistor from where you want to place the LED on the controller itself, to the pos. point on the board. Now, solder the ground wire from LED ground to the board ground. Test it by simply plugging the controller in, and watching for LED to turn on.
Mounting the LED:
Simply find where you want the LED to point out of, and drill there until the LED fits, (Starting with a small bit, and working up until the LED just fits.)
My LED points forward from the right side of the controllers cord. Your LED could point out the bottom of one of the handles, or you could put 2 LEDs, and have one out of each handle!
Once you've got your LED working, and it fits snuggly in the hole, super glue it in for the added support. Re-assemble the controller, being careful of the shoulder (L1, L2, R1, & R2) buttons! They can be tricky to get right... Congrats! You did it! Send me a pic of your PS2 controller LED to... synthetic_ky@hotmail.com
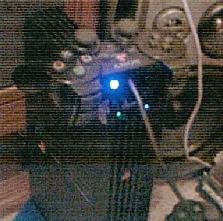
Here's my LED...
