Tutorial Name: Nintendo 64 LED Replacement
Download: N/A
Pic: N/A
The Tutorials Model: The tutorial was written using a model no. NUS-001(USA) console made in 1996.
What you will need:
1. N64 system
2. Soldering iron with solder
3. Any 5mm LED of your choice that runs safely at 3.0v
4. Good length of wire
5. Phillips head screwdriver
6. Super glue
7. Electrical tape
Here we go:
First things first, we need to get inside the console. Umm. If you don't have gamebit screws made specially for Nintendo products, I suggest you follow the pen melt trick just below this tutorial's link. If you got to this tutorial via a link from someone else's site, tell me! That's probably the reason you can't find the Gamebit's Screw Removal tutorial.
After you get into the system, we'll need to remove all the screws and heat sinks to get down to the board. It's not hard, so I'm not going into much detail.
See the mother board? Small huh? Ok, the idea is to replace the red LED with a new one of your choice. But, do you wanna make your N64 look even cooler with an LED that fades in upon start-up instead of just popping on immediately? That's what we're doing!
Look at the board when the controller port is facing you. Look towards the top right at the C15, C25, and C26 capacitors. We're gonna solder the pos. (+) leg of our LED to the C26 capacitor. FIRST, solder some wire to the LED's legs, and cut the wire long enough to reach towards the front of the system by the red LED. Strip it down and get ready.
Remove the mother board from the bottom of the case, flip it over, and de-solder the old red LED. Keep it or trash it, whatever.
Solder you new LED's neg. wire to the left point from old LED for ground, and solder you pos. wire for LED to the bottom of capacitor C26. Confused? Here's a diagram...

Don't feel confident enough to try and hit that small point for the ground connection? Ok, there's a silver strip on the edge of the board you could solder straight to. Easier?
Mount the LED:
Ok, you've soldered the LED up... Test it! Simply plug the power pack in, and hit the power switch. It should take your LED about 1 sec. to start coming on, then another 1/2 sec. to fade in all the way. That's the side effect of using capacitors as power supplies. Cool huh?
Ok, this is as simple as putting super glue on the LED, and placing it where you want, which is where the old LED was so you can see it! Err. Just hold the LED in it's spot and wait for glue to dry. Make sure the legs of the LED don't touch the bare joints from the old LED. I suggest you wrap the legs in electrical tape just to make sure. Keep the LED's bulb as close to the board as possible so the LED will go with the board when you put the board back in the case. If not, the LED might keep the board from fitting.
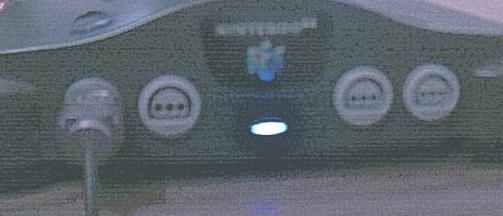
Here's my Nintendo 64 with blue LED:

All done! Good luck, or congrats on your project!