Tutorial Name: DreamCast Modem LED
Download: N/A
Pic: modem_0.jpg | modem_1.jpg
What you will need:
1. DC modem, not BBA tested...
2. Soldering iron with solder
3. Any 5mm LED of your choice that runs safely at 3.4v
4. Good length of wire
5. Drill with bits
6. Phillips head screwdriver
7. Super glue
8. Electrical tape
Here we go:
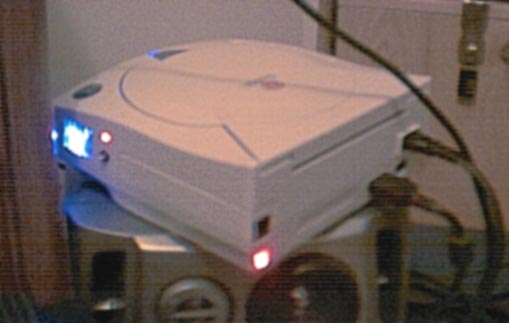
Alright, grab the modem and plug the soldering iron in to get it hot. You can add your LED anywhere you want, keeping clear of the board inside. My LED was replaced from green to ultrabright red JUST for this tutorial.
Okay, take the modem apart by removing the 2 screws on the front. Carefully take the insides out, and get down to the board by itself. It may take a minute to get the one panel out. Now, look at the modem with the plug to the DC pointing up, and the Line In to the left. You'll be soldering to the actual plug! Ahh! Not bad...
The LED:
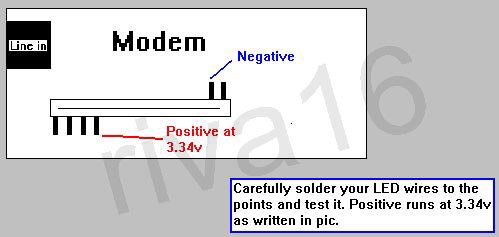
Ok, you're going to want to solder the LED up with some wire, and get ready to solder to the board. Look at the plug... the TOP row of pins is your ground, or "negative." The ground is the 2nd pin from the far right. Look at pic.
Your positive pin is the 4th from the far right on the bottom row. Look at pic.
Test this puppy. When DC comes on, with modem already in!, wait about 2 seconds, if not lit, something wrong. Simply try reversing the wires on the leg of the LED.
Mounting:
To mount the LED, you can simply drill using a small bit first, and leading up to the correct size hole. My LED is under the Line In plug. You'll wan to use electrical tape to insulate the LED legs form the case of the modem. Got it working? Good! Now, glue the LED into place! All done! Re-assemble the thing and you're good! My modem LED lights up the back of the room! Here's mine!